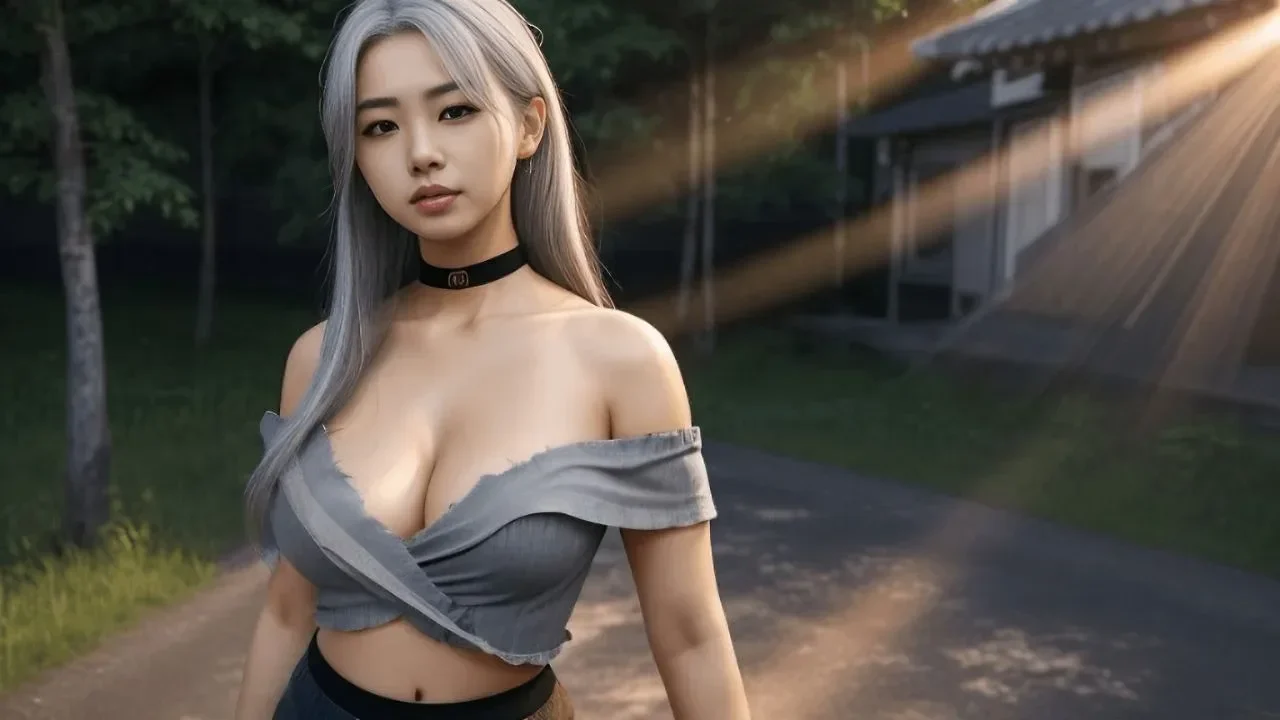
How to Install Stable Diffusion Checkpoints & Models
Table of Contents
1. Introduction
In the world of digital art and image generation, Stable Diffusion stands out as a robust tool that empowers creators to conjure stunning visuals from mere prompts. Whether you are an artist, developer, or a hobbyist, the ability to harness the power of Stable Diffusion is essential to expanding your creative capabilities. A key to unlocking this potential lies in the installation of the right models or checkpoints. This blog aims to guide you through the systematic process of finding, downloading, and installing these models in Stable Diffusion, enhancing your artistic exploration.
2. Why Models Matter in Stable Diffusion
In the context of Stable Diffusion, an essential aspect lies in the utilization of models, commonly referred to as checkpoints. These checkpoints hold immense significance as they serve as pre-trained neural networks, empowering the generation of visually captivating images. By employing a diverse array of models, one gains the ability to delve into a multitude of captivating themes, artistic styles, thereby expanding the creative horizons and possibilities within the realm of image generation.
3. Accessing Civit AI Website for Checkpoints
To begin the process, you need to visit the Civit AI website. It's a fantastic resource that offers a wide range of models for Stable Diffusion. Accessing their website will open up a world of possibilities for your image generation endeavors. Once you're on the Civit AI website, you can browse through the available models.
\
Upon entering the Civit AI website, you will encounter an assortment of categories including architecture, nature, people, and anime, among others. Exploring these categories is crucial as it helps you identify a model that resonates with your artistic vision. Taking the time to navigate through these options ensures that you select the most suitable model for your specific creative requirements.
4. Downloading Checkpoints & Models
When you find a model that you want to use, simply click on the download button provided. Keep in mind that models can be quite large, typically ranging from two to seven gigabytes in size. Make sure you have sufficient disk space before initiating the download. For this tutorial we will download the reV Animated model.
After the download is complete, you will have a model file in your downloads folder. To install the model, you need to move this file to the designated models folder in your Stable Diffusion installation directory. This process ensures that Stable Diffusion recognizes and utilizes the installed model during image generation.
Make sure you place the downloaded stable diffusion model/checkpoint in the following folder "stable-diffusion-webui\models\Stable-diffusion":

5. Understanding Model Details
Understanding the nuances of various models can greatly enhance your experience with Stable Diffusion. Two essential components to consider are:
-
Pruned Models: These are optimized versions of models that eliminate unnecessary data, resulting in a smaller file size while retaining performance.
-
Variable Autoencoders (VAEs): VAEs play a critical role in generating the final images from the model's internal latent representations.
Integrating custom VAEs into your setup can lead to improved image quality. To obtain VAEs, you can explore platforms like Civit AI or specialized websites. For the reV Animated model mentioned earlier, there are recommendations for three specific VAEs to enhance output quality. Installing VAEs involves some UI modifications, allowing you to select and utilize them seamlessly within Stable Diffusion. More information on how to install VAEs can be found in the following tutorial: The Power of VAEs in Stable Diffusion: Install Guide
6. Utilizing Downloaded Models in Stable Diffusion
After successfully installing your model, you are now poised to utilize it for generating images within Stable Diffusion. This process requires you to select your downloaded model from the Stable Diffusion interface.

\
In instances where your model or checkpoint does not appear, a simple remedy is to refresh the checkpoints by clicking the blue refresh icon located next to the available checkpoints. This action ensures that the interface recognizes your installed models, allowing you to unleash your creativity using the newly acquired tools.
7. Conclusion
In conclusion, mastering the installation of models and checkpoints in Stable Diffusion is an essential skill for anyone eager to explore the expansive world of AI-driven image generation. By following the outlined steps—accessing the Civit AI website, downloading the desired models, understanding their details, and utilizing them effectively—you can significantly enhance your creative journey. Remember that experimentation is key; by trying different models and VAEs, you can produce diverse and captivating images. With this knowledge, you are now equipped to embark on your artistic adventure in the realm of Stable Diffusion!


